GitHub is a popular version control and collaboration platform that allows developers to host and manage their code repositories. Whether you’re starting a new project or uploading an existing one, creating a GitHub repository is straightforward. This guide will walk you through the steps to create a GitHub repository.
Table of Contents
Prerequisites
Before you begin, ensure you have the following:
- GitHub Account: Sign up for a GitHub account if you don’t already have one.
- Git Installed: Install Git on your local machine. You can download it from git-scm.com.
Step 1: Log in to GitHub
- Go to GitHub.
- Log in to your account using your username and password.
Step 2: Create a New Repository
- Navigate to the Repositories Page:
- Click on the + icon in the top-right corner of the GitHub dashboard.
- Select New repository from the dropdown menu.
Alternatively, you can go directly to the New Repository page.
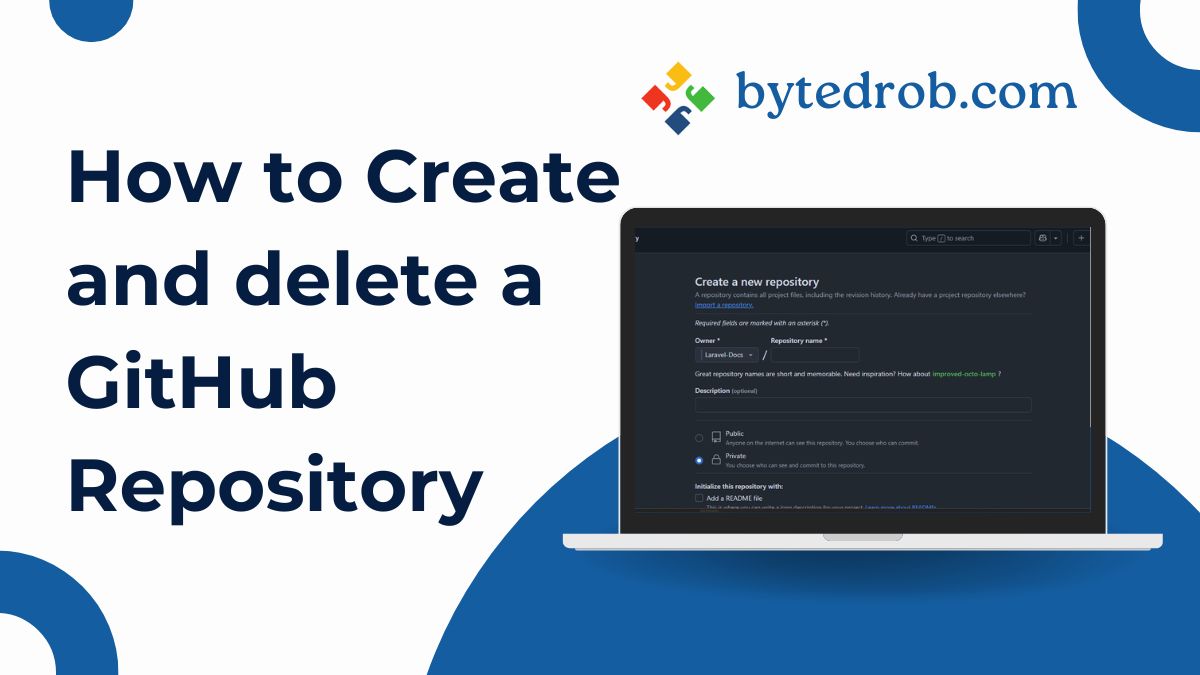
- Fill in Repository Details:
- Repository name: Enter a name for your repository (e.g.,
my-project). - Description: Add an optional description to explain what your project is about.
- Visibility: Choose between Public (visible to everyone) or Private (visible only to you and collaborators).
- Initialize this repository with:
- Add a README file: Check this box to create a
README.mdfile, which is useful for documenting your project. - Add .gitignore: Select a template to exclude specific files or folders from being tracked by Git (e.g.,
Node,Python, etc.). - Choose a license: Select a license for your project (e.g., MIT, Apache, etc.).
- Add a README file: Check this box to create a
- Repository name: Enter a name for your repository (e.g.,
- Create Repository:
- Click the Create repository button at the bottom of the page.
Step 3: Clone the Repository to Your Local Machine
Now that your repository is created on GitHub, you can clone it to your local machine to start working on it.
- Copy the Repository URL:
- On the repository page, click the Code button.
- Copy the HTTPS or SSH URL (e.g.,
https://github.com/username/my-project.git).
- Clone the Repository:
- Open your terminal or command prompt.
- Navigate to the directory where you want to clone the repository.
- Run the following command:
git clone https://github.com/username/my-project.gitReplace the URL with the one you copied.
4. Navigate to the Cloned Repository:
cd my-projectStep 4: Add Files and Commit Changes
- Add Files:
- Copy your project files into the cloned repository folder.
- Alternatively, create new files directly in the folder.
- Stage Changes:
Use the following command to stage all changes:
git add .To stage specific files, replace . with the file name(s).
3. Commit Changes:
Commit the changes with a message:
git commit -m "Initial commit"Step 5: Push Changes to GitHub
- Push to GitHub:
Push your local changes to the remote repository:
git push origin mainReplace main with your branch name if necessary.
- Verify on GitHub:
- Go back to your GitHub repository page and refresh it.
- You should see your files and changes reflected there.
Step 6: (Optional) Set Up a Remote for an Existing Local Repository
If you already have a local Git repository and want to connect it to GitHub:
- Create a New Repository on GitHub:
- Follow Step 2 to create a new repository on GitHub.
- Add the Remote URL:
In your local repository, run:
git remote add origin https://github.com/username/my-project.git3. Push to GitHub:
Push your local repository to GitHub:
Step 7: Collaborate and Manage Your Repository
Now that your repository is set up, you can:
- Invite Collaborators: Go to the repository settings and add collaborators.
- Create Issues: Track bugs, enhancements, or tasks.
- Create Pull Requests: Collaborate on code changes.
- Use GitHub Actions: Automate workflows like testing and deployment.
Delete a GitHub Repository
Deleting a GitHub repository is straightforward, but it’s important to note that this action is irreversible. Once a repository is deleted, all its files, issues, pull requests, and other data will be permanently removed. This guide’ll walk you through the steps to delete a GitHub repository.
Step 1: Log in to GitHub
- Go to GitHub.
- Log in to your account using your username and password.
Step 2: Navigate to the Repository
- Find the Repository:
- Click on your profile picture in the top-right corner and select Your repositories from the dropdown menu.
- Alternatively, use the search bar to find the repository you want to delete.
- Open the Repository:
- Click on the repository name to open it.
Step 3: Access Repository Settings
- Go to Settings:
- In the repository, click on the Settings tab (located near the top of the page, next to “Code,” “Issues,” etc.).
Step 4: Delete the Repository
- Scroll to the Danger Zone:
- Scroll down to the Danger Zone section at the bottom of the Settings page. This section contains irreversible actions.
- Click “Delete this repository”:
- Click the Delete this repository button.
- Confirm Deletion:
- A pop-up will appear asking you to confirm the deletion.
- To confirm, type the name of the repository exactly as it appears.
- For example, if your repository is named
my-project, typemy-projectin the confirmation box.
- Click “I understand the consequences, delete this repository”:
- Once you’ve confirmed the repository name, click this button to permanently delete the repository.
Step 5: Verify Deletion
- Check Your Repositories:
- After deletion, navigate back to your repositories page.
- The deleted repository should no longer appear in the list.
- Check for Confirmation Email:
- GitHub will send a confirmation email to the address associated with your account, notifying you that the repository has been deleted.
Step 6: (Optional) Delete Local Repository
If you have a local copy of the repository on your computer, you may want to delete it as well.
- Navigate to the Local Repository:
- Open your terminal or command prompt.
Navigate to the directory where the repository is stored:
cd path/to/your/repository- Delete the Local Repository:
Remove the repository folder:
rm -rf repository-nameReplace repository-name with the name of your repository folder.
Important Notes
- Irreversible Action: Deleting a repository cannot be undone. Make sure you have backups of any important data before proceeding.
- Forked Repositories: If the repository is a fork, deleting it will not affect the original repository.
- Organization Repositories: If the repository belongs to an organization, you must have owner-level permissions to delete it.
Conclusion
Creating a GitHub repository is a simple process that takes just a few minutes. Whether you’re starting a new project or uploading an existing one, GitHub provides the tools you need to manage and collaborate on your code effectively.
As same fashion, deleting a GitHub repository is a quick process, but it’s important to proceed with caution since the action is irreversible. By following the steps outlined in this guide, you can safely and permanently remove a repository from your GitHub account.
If you have any questions or run into issues, feel free to leave a comment below.


Leave a Reply